After downloading the .ZIP file, click on the file name inside to install IRender nXt.
During installation, select the proper version of SketchUp if you have more than one version installed.
Start SketchUp
^Download SketchUp 8 from Here: ( SketchUp Download ) if you don't have it yet. (IRender nXt works with both the free and professional versions.)
Start IRender nXt
Select IRender nXt Load from the SketchUp Plugins menu.
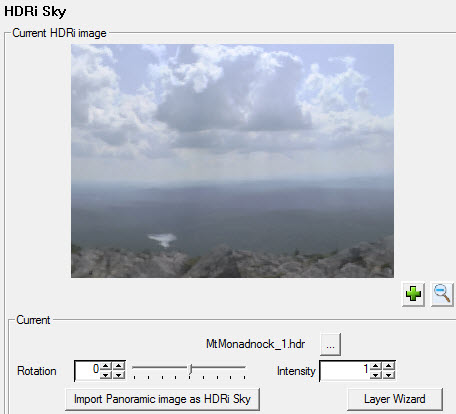
HDRi Skies and backgrounds provide a full, 360 degree, image used for the visual background, as well as lighting and reflections. See:
HDRi Skies
Sample HDRi Sky
Just part of the full Panorama. The HDRi contains the full 360 degree image with sky and some landscape
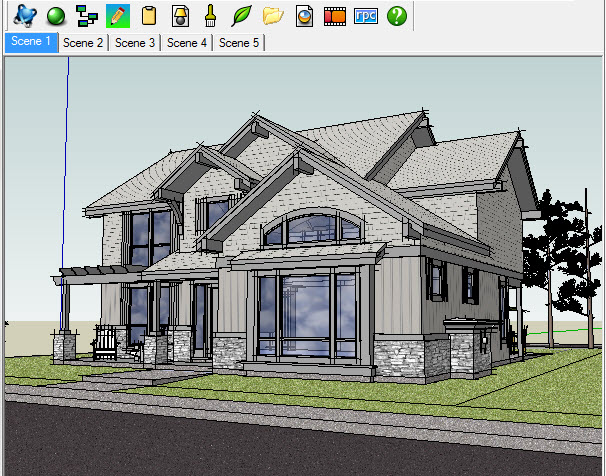
Select a model
For your first rendering we suggest a simple exterior.
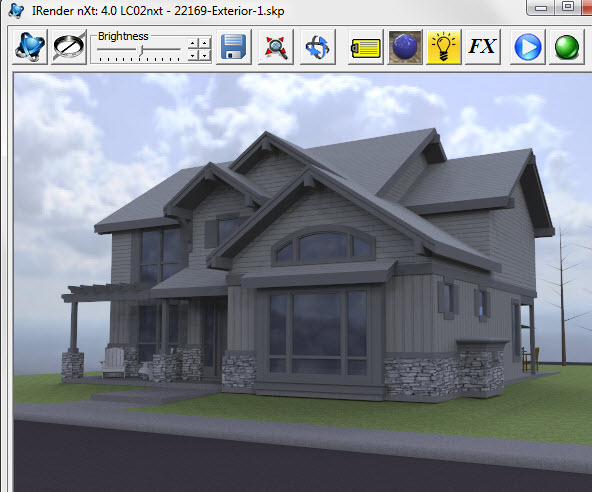
We are going to render it, using default HDRi Sky settings, without making any changes to the model. This will let you see the effects of the default lighting of IRender nXt. For exteriors, this is easiest to see if the model has roof overhangs, porches, or other features which will benefit from subtle lighting effects.
I kept the same view, et. from the model after it downloaded.
3D Warehouse model you could use for the first rendering
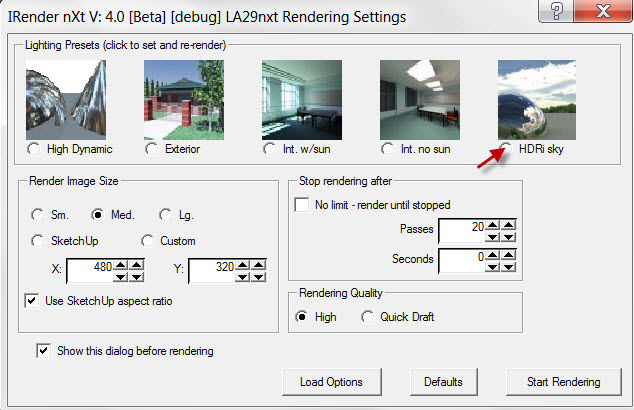
Start Rendering
Click the Render icon:
After you click the start rendering icon, the
Rendering Settings
dialog will appear to help you with your settings.
Click the HDRi Sky Preset
Click Start Rendering to render your first image.
Rendering Settings Wizard
Rendered image - 10 rendering passes - Rendering time less than 1 minute
Notice the reflection in the windows from the Sky behind us.
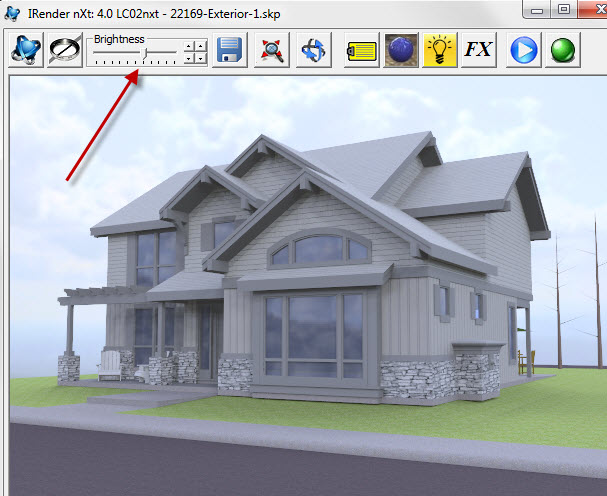
Brightness Adjustment
IRender nXt applies an automatic exposure control to set the brightness of the rendered image.
If it is too bright, or too dark, use the brightness slider to adjust it.
Here I increased the brightness using the slider to make a brighter image.
Rendered image with brightness increased.
Use the brightness slider at the upper left of the window.
Notes
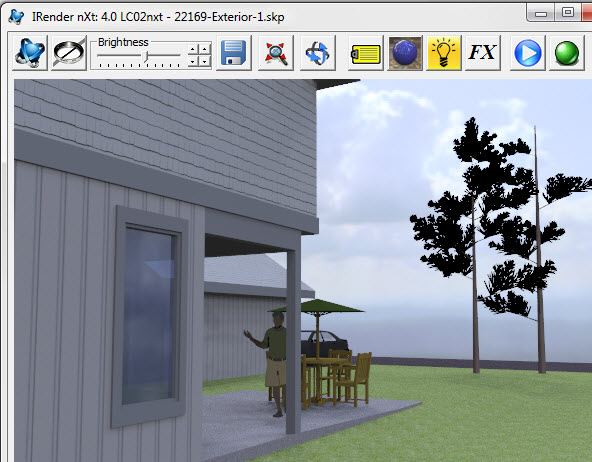
This 3D Warehouse model uses edge lines for its trees. These are not normally rendered and the trees look barren. There is an option in IRender nXt to render the
Edge Lines
if you have models which use edge lines for detail. Also you could replace the trees with
RpTreeMaker
trees which always render with full detail.
Rendering of Side of House with Edge Lines to see Tree Detail.
Normally edge lines are off to save on rendering time.
Other Exterior Rendering Tutorials
If you want to try more things with Exterior check out these Tutorials: